Use the context menu command to create a new folder
cap_nut_2at any location (here as an example attraining/beginner/solutions).Use the secondary mouse button to call up the context menu of the folder and click New project.
Enter the name of the new project and select the option Template for 3D project (list box) under Template.
-> The new project cap_nut_2.prj is pasted in the PARTproject directory tree.
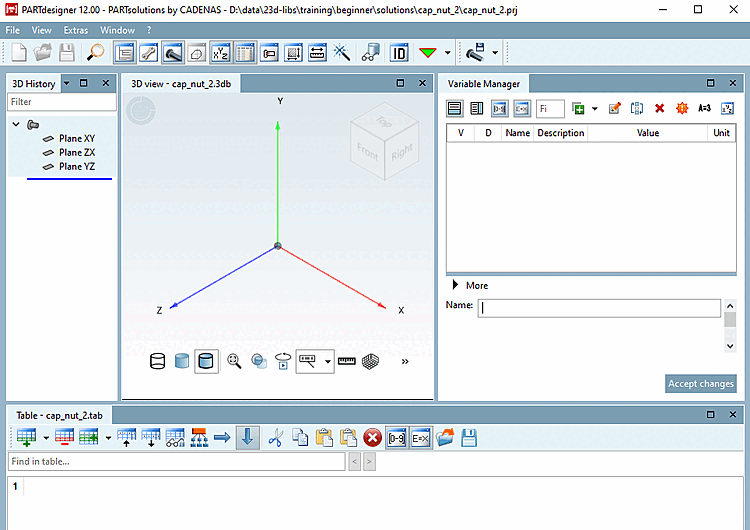
Because of the chosen Template, blank files for Geometry (cap_nut_2.3db) and Table (cap_nut_2.tab) are already available. Both files still have to be given some content.
First click on the name of the geometry file cap_nut.3db.
-> Settings dialog area: No preview [Preview] of the geometry is currently visible.
To PARTdesigner click on the button.
-> As the file is still without content, you will be asked in the Edit file dialog box whether it should be created.
The Transfer variables from table [Use variable from table] radio button is not relevant as no table exists from which you could transfer variables.
3D view and table are still empty.