Classify the set connection point for component orientation according to CNS_CP|4|5 Elektro Alignment Coordsys.
Make sure that the class CNS_CP|4|5 Elektro Alignment Coordsys is set exactly once on the part to be classified.
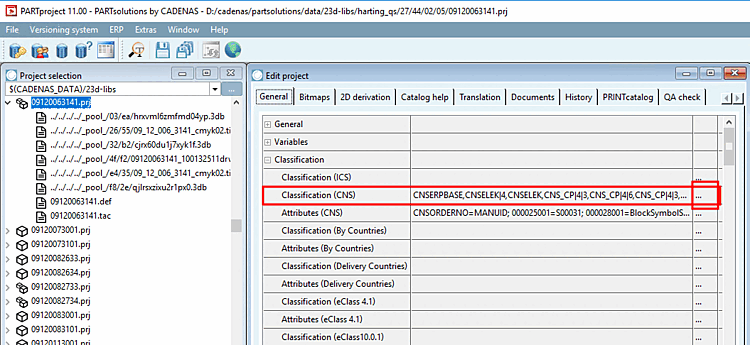
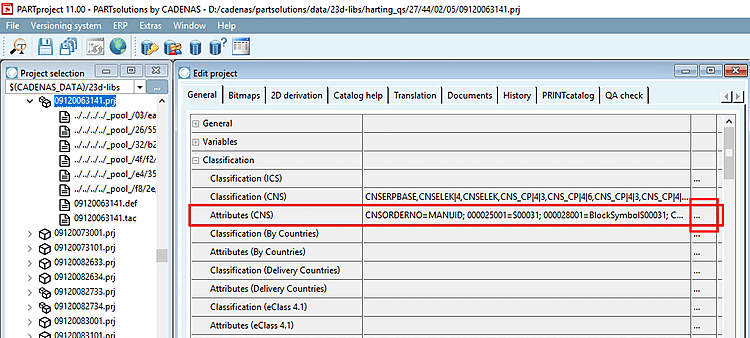
To do this, select the project to be edited under Project selection and then click under Edit project -> Classification (CNS) at
-> The Classification dialog box opens.
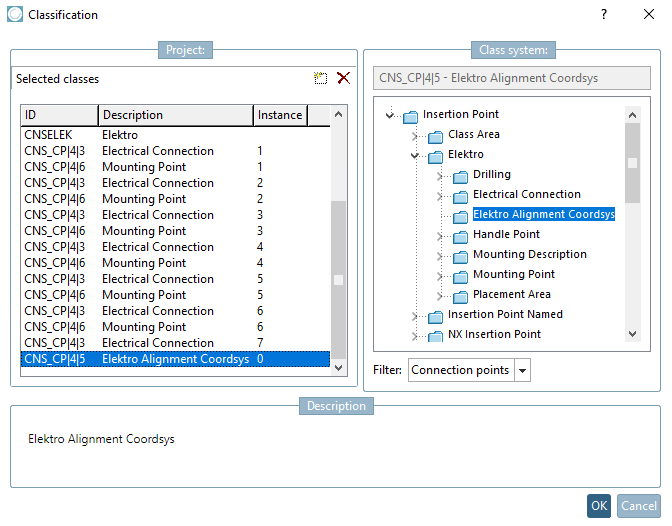
Under Selected classes, check whether the Elektro Alignment Coordsys class is available.
If not already available, select it in the Class system dialog area under Insertion point -> Electrical -> Electrical Alignment Coordsys by double-clicking.
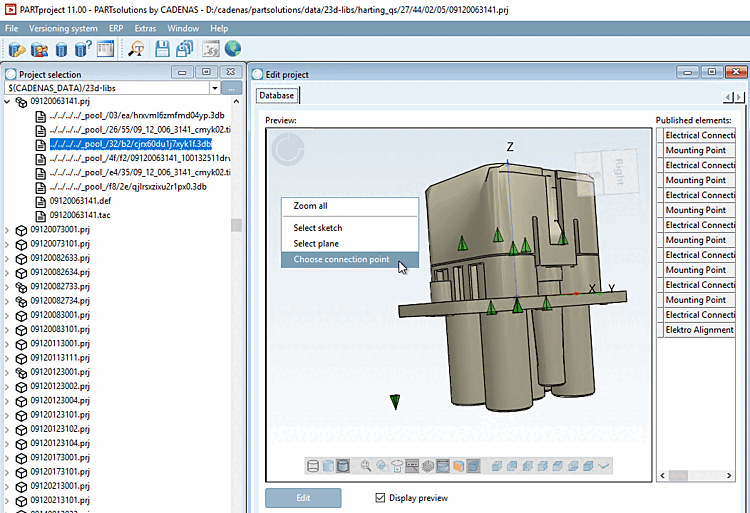
Click on Select connection point [Choose connection point] in the context menu under Preview.
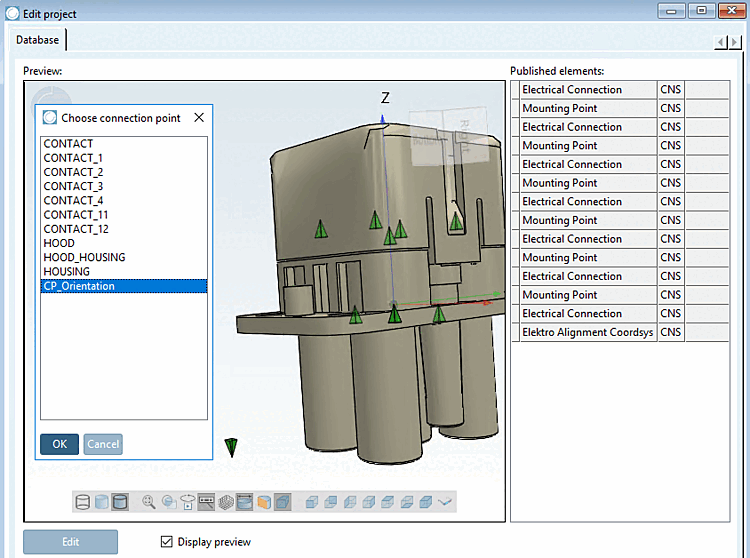
Select the desired connection point [Connection point] and confirm with .
-> The list of classes and features is displayed below the preview [Preview].
Select the Elektro Alignment Coordsys class and activate the checkbox at the beginning of the line.
-> The item Electro Alignment Coordsys is now displayed under Published elements.
-> Right below the respective attributes are displayed.
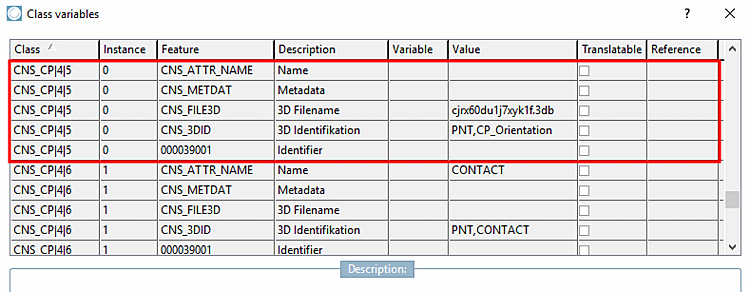
Optional for checking: Select the project to be edited under Project selection and then click under Edit project -> Characteristics (CNS) at
-> The Class variables dialog box opens.
the 3D file name and 3D identification are also automatically displayed here.
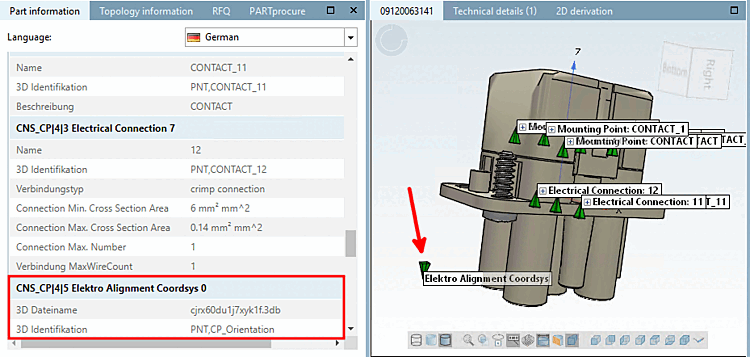
Update the display index and open the part in PARTdataManager.
The classified connection point [Connection point] is displayed in the PARTdataManager in the part information [Part information] docking window as CNS_CP|4|5 Elektro Alignment Coordsys.