In the PARTdesigner to call up the relevant geometry [Geometry] (*.3db).
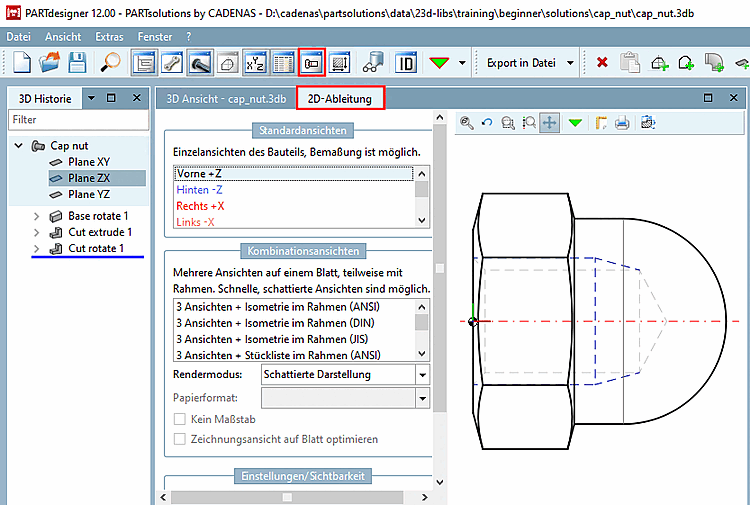
Click on the 2D derivation button
 .
.-> The respective docking window is opened.
Select the desired view (Front [Front], Rear [Back], Right, etc.). The example shows the front [Front] view.
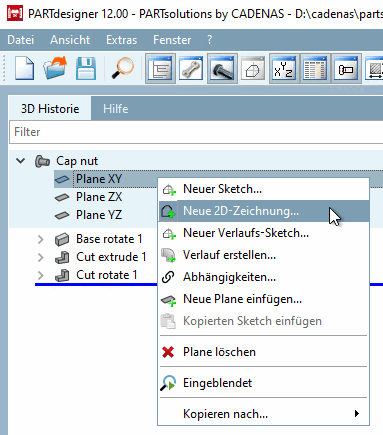
In the 3D history [3D History] docking window, use the secondary mouse button to call up the context menu of the plan in which the sketch was created that is to serve as the basis for the dimensioning view.
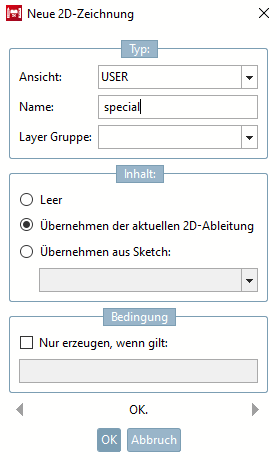
Under View, select an entry in the list field, either the standard view corresponding to the previous selection (here the name [Description] is assigned automatically) or "USER " to be able to freely assign the name and create an additional view.
USER was used in the following examples.
Under Content, select the Apply current 2D derivation [Accept current 2D derivation] option and then confirm with .
![[Note]](https://webapi.partcommunity.com/service/help/latest/pages/cn/ecatalogsolutions/doc/images/note.png)