A process pipeline can be set up very easily in PLM Synchro using the wizard functionality. This can then be adapted for different purposes using modular nodes.
The Auto classify node offers a clear input dialog for setting up a set of rules with which you can relatively easily manage the auto classification of your own parts.
The following exemplary figure shows how to perform assignments into the created classes with the help of geometrical similarity analysis. As further methods assignments can be performed by using topological attributes and VBS scripts.

In the following, the procedure is explained.
Make sure that you have a working base pipeline how it can be easily created with the Wizard.
Drag the Auto classify node from Available filters in the pipeline onto the connection between the conversion [Conversion] and the structure node [Structure Node].
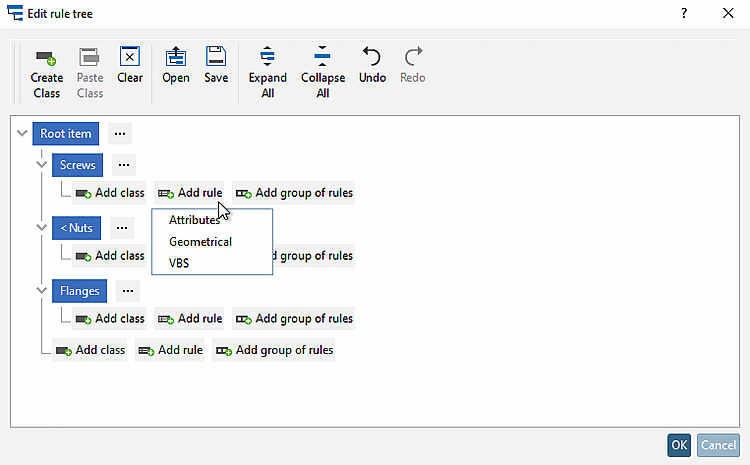
Select the Auto classify node and click on the button in the node editor [Node Editor].
-> The Edit rule tree dialog box opens.
In the dialog, create a class structure by which you want to classify your company parts.
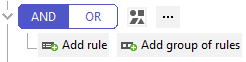
Click on Create Class at the top of the toolbar and then on in the tree.
-> Classes are created in the tree, which are initially labeled .
In this way create all required classes and subclasses. The following example does not have subclasses.
Attributes: Classification is based on a topological attribute.
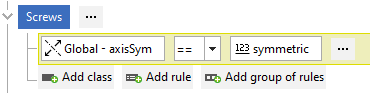
The procedure is shown below using axis symmetry [Axis Symmetry] as an example:
After clicking on the Attributes option, the Select Operand [Select operand] dialog box opens.
Select the Topological Attributes [Topological Attribute] option, select the desired topological attribute and confirm with .
-> The corresponding entry is made in the Edit rule tree dialog.
Choose the mathematical comparison operand (==, <, >, etc) and then, in the next input field, click on "Click to select operand".
-> The Select Operand [Select operand] dialog appears again.
This time, the Direct Value option is already selected.
Select the desired value in the list field and confirm with .
-> Now the complete condition is entered.
Geometric: Selection of a part on the basis of which the similarity of the parts to be classified is measured.
-> If there are possible assignments in the single classes, they are automatically created as directory; otherwise the read in parts will appear in the directory "unclassified".

![Structure node [Structure Node] - "Document path [Document Path] " customization](https://webapi.partcommunity.com/service/help/latest/pages/cn/installation_ecatalogsolutions/doc/resources/img/img_365bde62bd084594a0c16caf8cd8f67a.png)
![Node editor [Node Editor]](https://webapi.partcommunity.com/service/help/latest/pages/cn/installation_ecatalogsolutions/doc/resources/img/img_9dff4506fe0143b7be43a12434b3420f.png)

![Dialog after clicking on "Create Class [Create Class] "](https://webapi.partcommunity.com/service/help/latest/pages/cn/installation_ecatalogsolutions/doc/resources/img/img_5a4b82b74433410e9a848c316f17017c.png)