5.12.3. General information on classifications
5.12.3.8. Classification (country of delivery )
|  |
| Prev | Next |
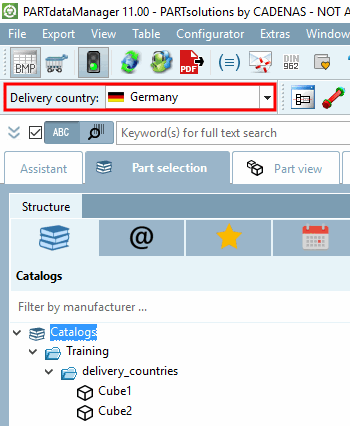
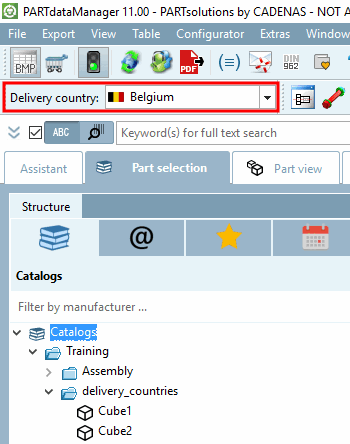
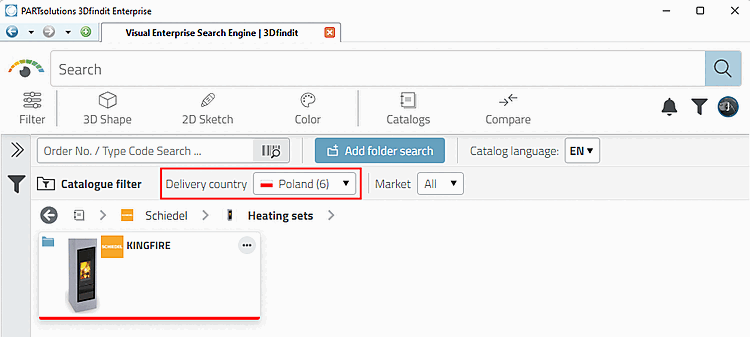
If a catalog has been classified by country of delivery (e.g. "Schiedel"), this can be filtered in PARTdataManager / 3Dfindit can be filtered accordingly. Depending on the selection, the display in the structure tree (and table) changes.
![PARTdataManager delivery country [Delivery country]](https://webapi.partcommunity.com/service/help/latest/pages/cn/partsolutions_admin/doc/resources/img/img_b093b1c3541a4c8f8ae357fe7a4779ba.png)
In PARTdataManager the delivery country [Delivery country] filter can be switched on and off in the context menu of the toolbars.
To be able to use the functionality, the Delivery Countries classification must be installed.
The following describes how to classify projects properly. Optionally, not only projects but also their single rows can be classified.
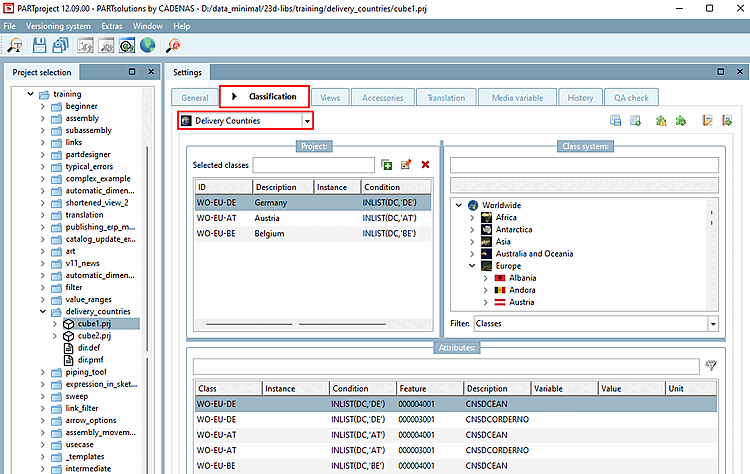
Select the Delivery Countries tab page below.
Double-click on a desired country in the Class system dialog area.
-> A corresponding entry is made under Selected classes.
Double-click on any other countries to add them under Selected classes.
Optional: You can also specify the classification for individual project lines. The prerequisite for this is that an extra variable is created in the characteristic attribute table (in the following example figure "DC") and the corresponding country abbreviations are entered as the value.
In the Classification dialog box, enter the following function in the Condition column.
INLIST(Variable,Wert)
Variable is a table variable where the country code is entered; value is the respective country code.
As in the example above, an entry would then be INLIST(DC,'DE'), for example.
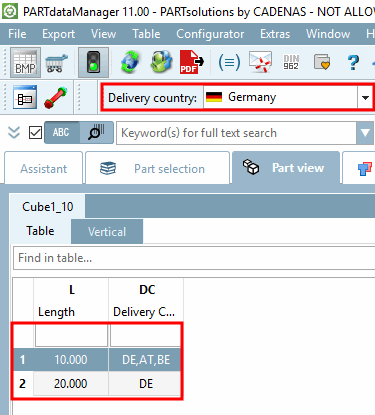
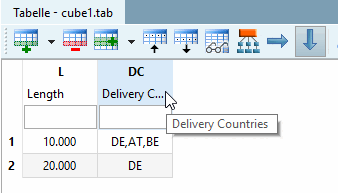
Example: For country selection "Argentina", all table rows are displayed. For country selection "Germany", only those table rows are displayed where the column "DC" has the value "DE".
In the output media (PARTdataManager, PARTcommunity), according to set delivery country, only those table rows are displayed where the adequate country code is entered.
Finally, you must update the display index
 . You can then test the function in PARTdataManager test the function. See above Fig. „PARTdataManager delivery country [Delivery country]
“.
. You can then test the function in PARTdataManager test the function. See above Fig. „PARTdataManager delivery country [Delivery country]
“.
![[Note]](https://webapi.partcommunity.com/service/help/latest/pages/cn/partsolutions_admin/doc/images/note.png)
![[Important]](https://webapi.partcommunity.com/service/help/latest/pages/cn/partsolutions_admin/doc/images/important.png)
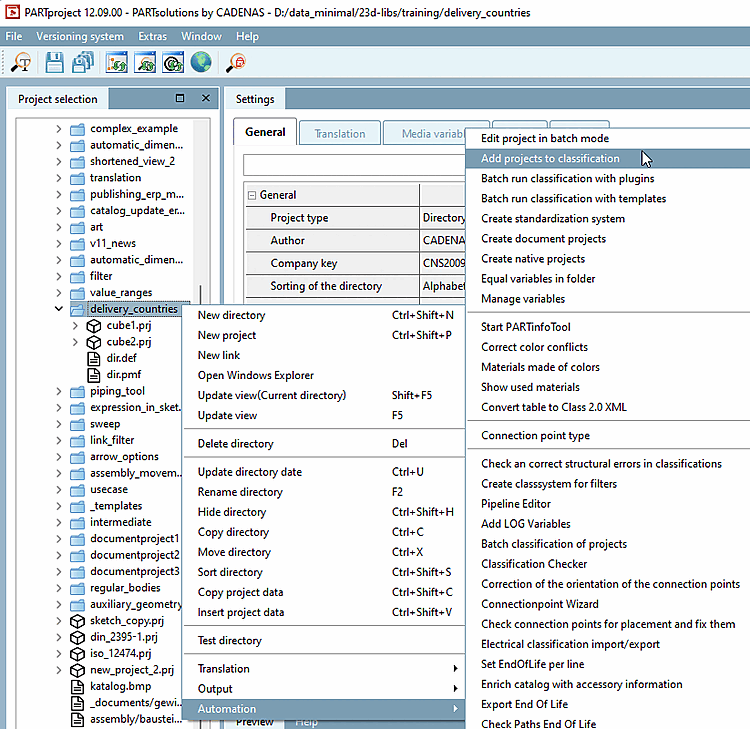
Based on an already classified project, you can add any other projects inside a certain directory to that class in batch mode.
Select a directory to whose projects you want to transfer the classification and click on the context menu command Add projects to classification under Automation.
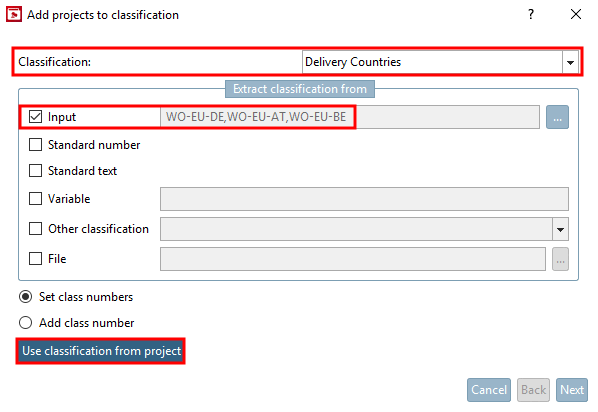
Select the Delivery Countries option in the list field under Classification.
Activate the checkbox under Input.
Click on the button and select the desired project in the Explorer window. (The corresponding entry is then displayed under Input )
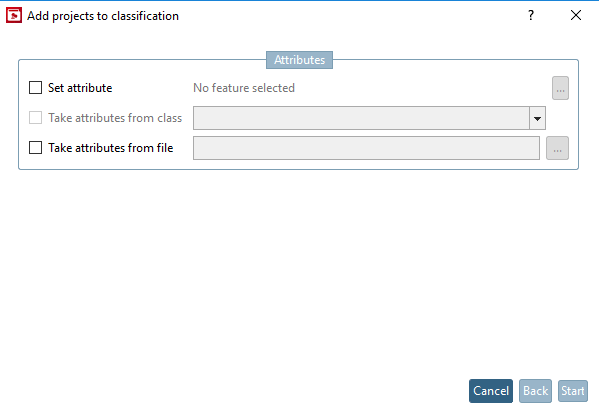
-> The Characteristics [Attributes] dialog area opens.
Remove the activation under Set features [Set attribute] and click on .
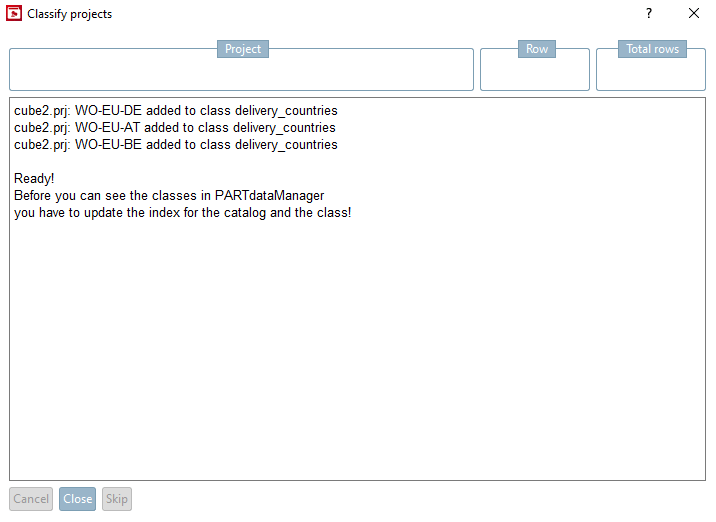
-> A log informs you which projects have been added to the class.
Open the projects for testing in PARTdataManager.
Example about display in table:
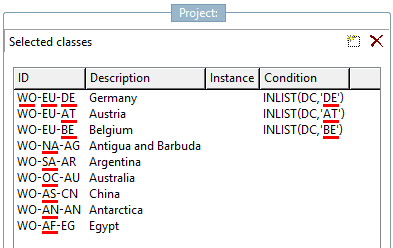
Example about display in index tree: