5.12.4.4.
Create class system / Change current class system... (Classes and features)
5.12.4.4.3. Create features / Edit
|  |
| Prev | Next |
The creation of features is optional. The prerequisite is that support for [Support for] > features [Attributes] is activated.
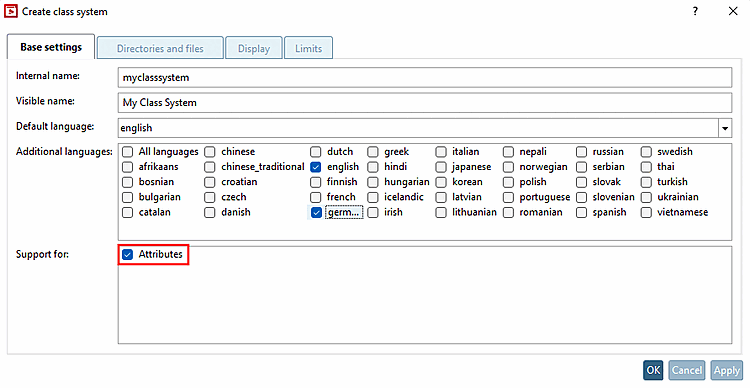
Features can only be created on the basis of an existing class.
Select the Features [Attributes] Tabbed page.
Click in the middle dialog area available in the class system Features [Features available in the classification system] on
 ,
to create a new feature. To create an existing feature,
, click on
,
to create a new feature. To create an existing feature,
, click on  .
.
-> The Add feature or Edit feature [Edit class variable] dialog box opens, which has the same functionality.
Select the desired classes and assign the desired class characteristics to the selected class by moving them via the arrow from Characteristics available in the class system [Features available in the classification system] to Characteristics assigned to the selected class [Features assigned to the selected class].
Switch to the Values Tabbed page.
The characteristics created on the Characteristics [Attributes] Tabbed page are displayed in the left-hand field Characteristics available in the classification system [Features available in the classification system].
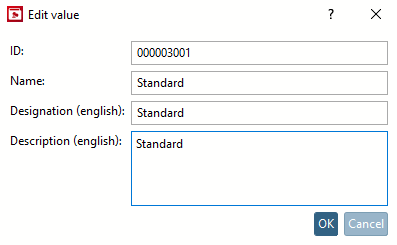
In of the middle column Available in the class system Values [Values available in the classification system] by clicking on the icon
New value... the
(Click on
value
edit... [Edit value...] you can edit the values again.)
-> The Edit value dialog box opens.
Select characteristics one after the other and assign the desired values to the selected characteristic by moving the value using the arrow from Values available in the classification system to Values assigned to the selected characteristic.

![Edit feature [Edit class variable]" dialog box](https://webapi.partcommunity.com/service/help/latest/pages/cn/ecatalogsolutions/doc/resources/img/img_47691347a4604a8ba2fce5f062cb9538.png)