The following explains the basic instructions for use:
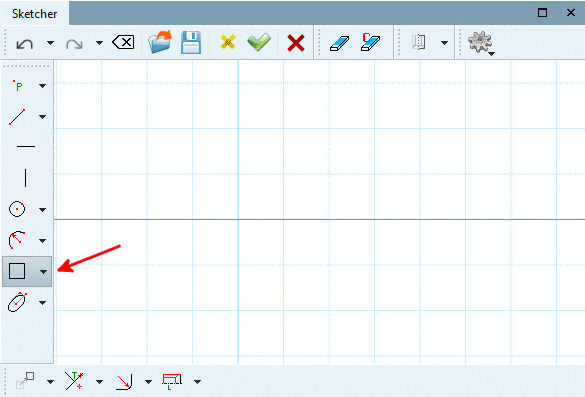
Activate button with simple mouse click.
-> The buttons' function is "hanging" on to the cursor and the button is highlighted.
Move the cursor to the desired location in the sketch.
-> Depending on the selected command, the object snap (circular symbol) becomes visible.
Carry out the function of the buttons through simple mouse clicks at the desired spot (e.g. Insert line).
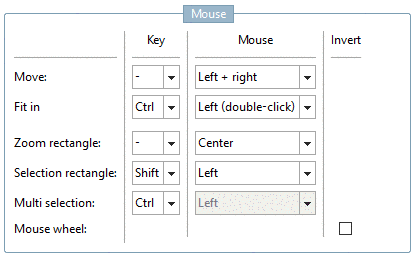
Move: With pressed left and right mouse key you can shift the whole content.
Fit in: Perform a double-click with pressed Ctrl key. -> The whole content of the sketcher is fitted in the window.
Zoom rectangle: Drag a rectangle with pressed middle mouse button.
Selection rectangle: Drag a rectangle with pressed shift key and left mouse button.
Multi selection: Click on the desired elements with pressed Ctrl key.
Mouse wheel: With the Mouse wheel, you can zoom in and out. Turning downwards will reduce the image. If Invert is active exactly the other way round. Depending on where positioning the mouse cursor before scrolling the mouse wheel, the object's position is adjusted.
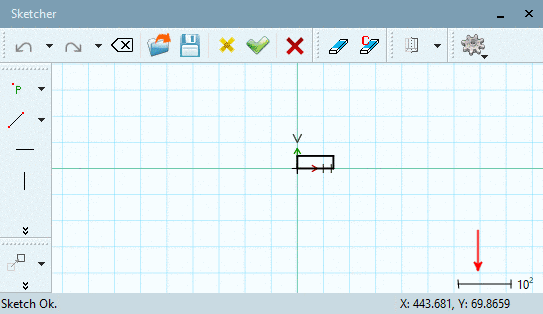
You can see the scaling factor right below. Positive exponential numbers signalize that you zoomed out, negative that you zoomed in. Double-clicking with pressed Ctrl key resets to the standard scaling factor (10 to the power of 0).
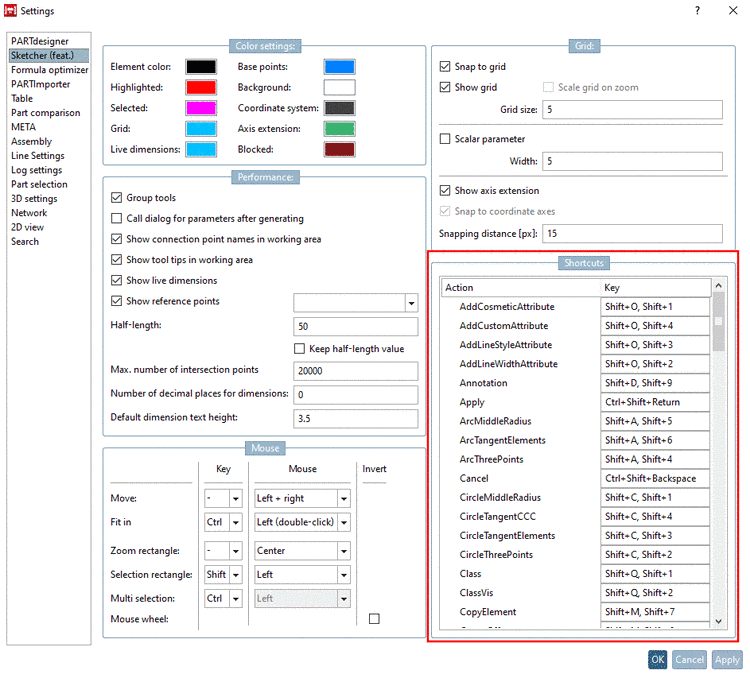
You can adjust the default setting under PARTdesigner -> Extras menu -> Preferences... -> Sketcher (feat.) -> Mouse.
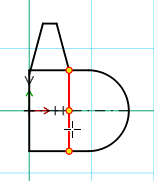
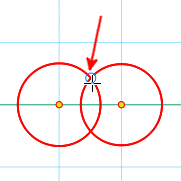
Automatic object snap on points and auxiliary points of construction: If you move the cursor in the immediate area of a start, middle, endpoint or intersection point, these points will be surrounded by a small blue circle and thus identified as points and auxiliary points of construction.
You can select any point of construction (yellow point) or auxiliary point of construction (only blue circle) on the element.
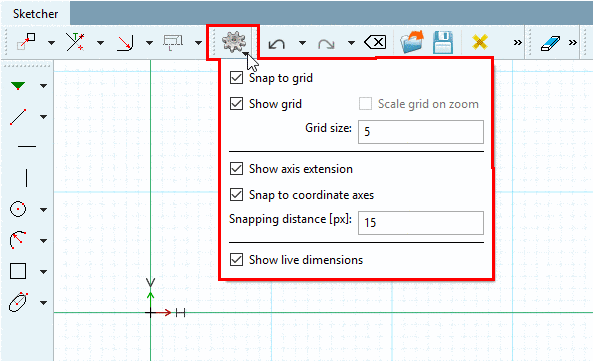
Snap to grid: If, for example, a line is drawn, it is automatically placed on the grid lines. A placing between grid lines can only be achieved with option turned off.
Under Color settings you can set the grid's color.
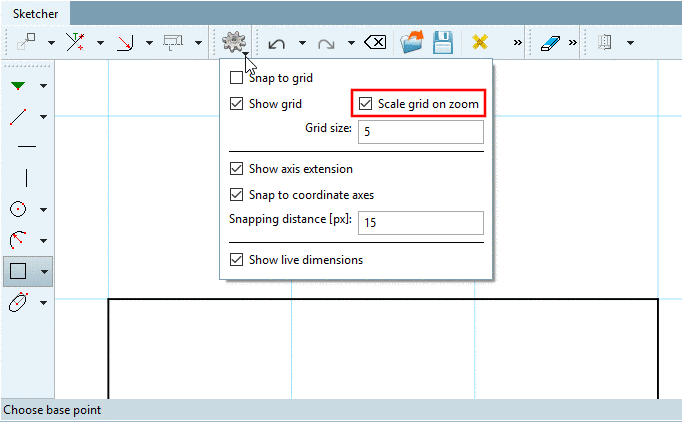
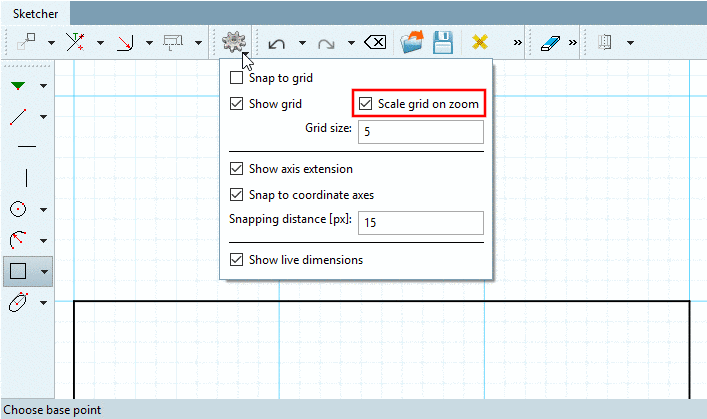
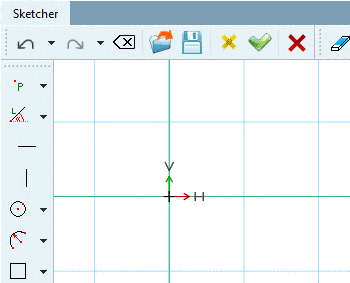
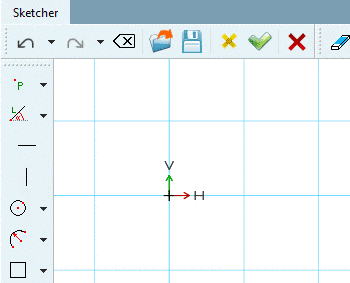
If the option is enabled and you zoom in, at a certain moment the grid is automatically scaled with factor 10. On this compare the two following figures. If the option Snap to grid is enabled, this option is automatically disabled, because snapping at "wrong" points is unwanted.
Den Vergrößerungs- / Verkleinerungsmaßstab sehen Sie im Sketcher rechts unten. Positive Exponentialzahlen signalisieren, dass herausgezoomt wurde, negative, dass hereingezommt wurde. Ein Doppelklick mit gehaltener Strg-Taste stellt wieder auf den Normal-Maßstab (10 hoch 0) um.
Under Color settings you can set the coordinate system's color and axis extension.
Snap to coordinate axes: If, for example, Snap to grid is turned off, but this function turned on, a line will strictly orient towards the coordinate axes, whereby the length can be freely chosen in contrast to Snap to grid.
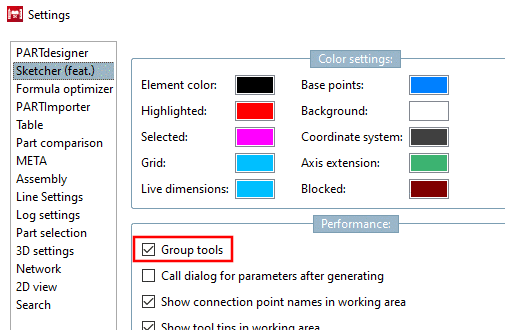
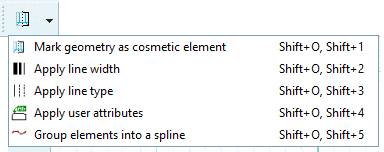
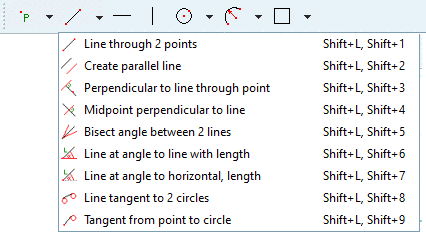
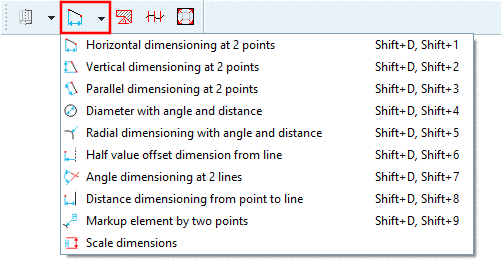
To improve the overview, the individual function buttons are summarized in groups with similar functions. As of V12 on some toolbars only the last used one is displayed, the others can be made visible by clicking on the little black arrow. In PARTdesigner, under Extras menu -> Preferences... -> Sketcher (feat.), there is the function Group tools, so that you can switch back to the old V11 behavior if you like (all buttons visible at once).
With the secondary mouse key, click in one of the toolbars and set or remove the checkmark at the desired toolbar.
![[Note]](https://webapi.partcommunity.com/service/help/latest/pages/cn/3dfindit/doc/images/note.png)
Note The most toolbars are both visible in the pure sketch mode and in the 2D drawing mode (call see Section 7.9.2, “Launching the Sketcher ”), some exclusively in the 2D drawing mode. The following listing show a respective note for each.
Toolbar "Default": Both pure sketch mode and 2D drawing mode
Toolbar "Delete": Both pure sketch mode and 2D drawing mode
Toolbar "Attributes": Both pure sketch mode and 2D drawing mode
Toolbar "Quick settings": Both pure sketch mode and 2D drawing mode
Toolbar "Shapes": Both pure sketch mode and 2D drawing mode
Toolbar "Modify": Both pure sketch mode and 2D drawing mode
Toolbar "Text": Only 2D drawing mode
Toolbar "Attributes -> Dimensioning mode": Only 2D drawing mode
Toolbar "Attributes -> Insert hatch": Only 2D drawing mode
Toolbar "Attributes -> Polyline": Only 2D drawing mode
Toolbar "Shapes" -> Tool group "Ellipses": Only 2D drawing mode
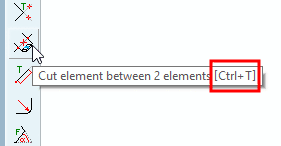
You can call the single functions in the Sketcher via shortcuts.
Advantage: Saving of time. Shortcuts will help you execute commands much quicker as with mouse.
Disadvantage: You have to remember shortcuts. Tool also show the shortcut beside the command name, so that you will learn them with time.
The following figure gives an overview on all shortcuts.
There are different modes to call them:
Under PARTdesigner -> Extras menu -> Settings... -> Sketcher (feat.) -> Shortcuts you can adjust already existing shortcuts.
In order to find the correct command be oriented towards Fig. „Overview Shortcuts“. When knowing the shortcut you can search for it in the column Key. Enter the new desired shortcut here and make sure that there is no conflict to another already existing, because the command won't work then.
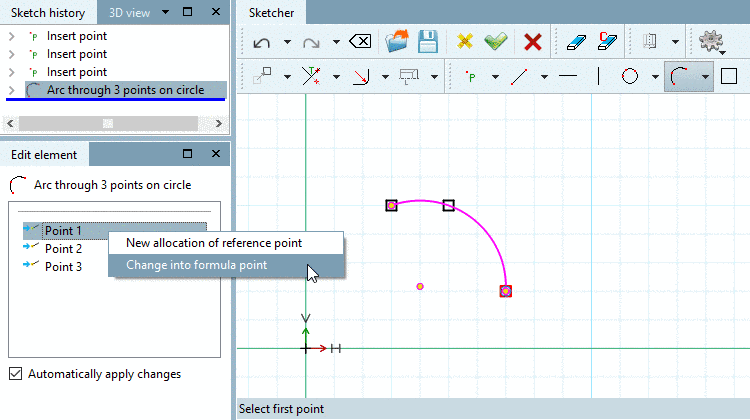
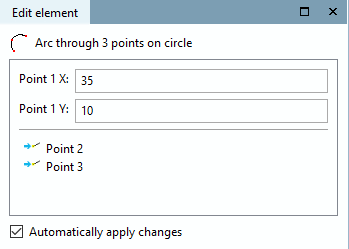
If fixed points are used when executing functions, in the docking window Edit element, these points will be displayed and not their coordinates. If the coordinates shall be adjusted, a point has to be converted into a formula point.
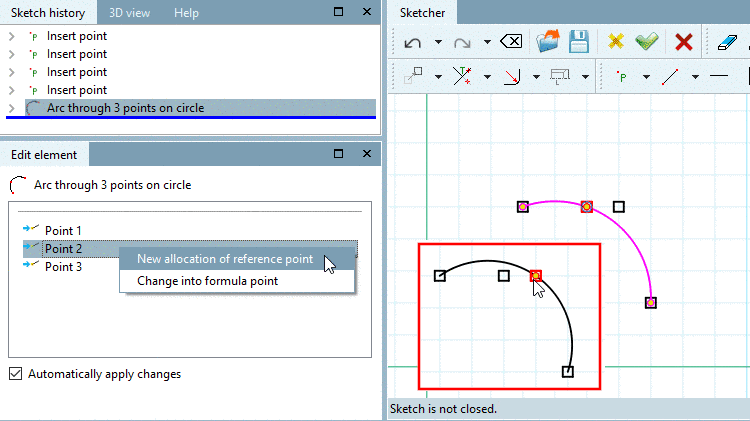
New allocation of reference point:
Also you can allocate another reference point subsequently (if it has been in the Sketch history before).
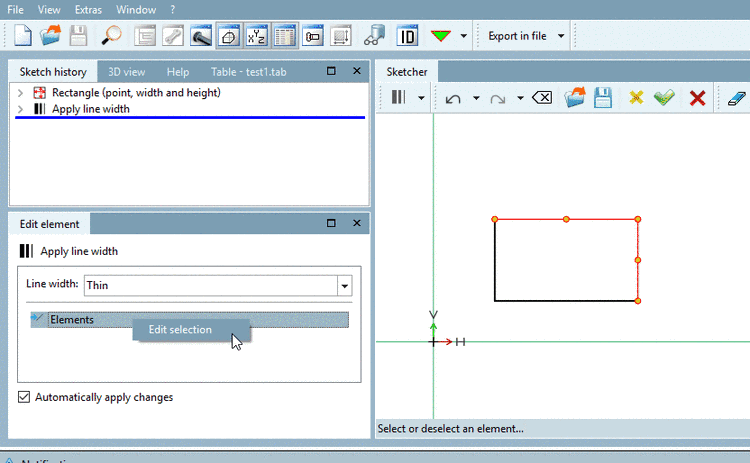
In cases where multiple selection is possible, in the docking window Edit element, the point Elements with context menu command Edit selection is displayed.


